While most problems with fluorescent lighting is fixed by changing the bulb, another problem can be lurking that requires a little more knowledge and skill to repair. If the fixture fails to light after all of the bulbs have been replaced, the culprit most likely will turn out to be the ballast.
10 Steps to Replace the Ballast in a Fluorescent Light Fixture
Despite the fixtures looking complicated, the ballast are not hard to replace.
The first time that you change a ballast, it is best to plan for the job to take about an hour of your time. If you are good at minor electrical repairs and do a lot of home improvement, cut that amount of time in half. Usually, it takes longer to figure out the best way to access the ballast than it does to change it.
Start the job by removing the old ballast.
Remove the old ballast before purchasing the new one unless you are certain about what type of ballast to buy. This way, you can take the part with you when you pick up the new one to make sure that you only have to make one trip. If the ballast has never been replaced, you will need six or eight small wire nuts. From the tool box you will need a pair of pliers, a set of small end wrenches, two screw drivers (one slotted and one Phillips), a pair of wire cutters, and a wire stripper.
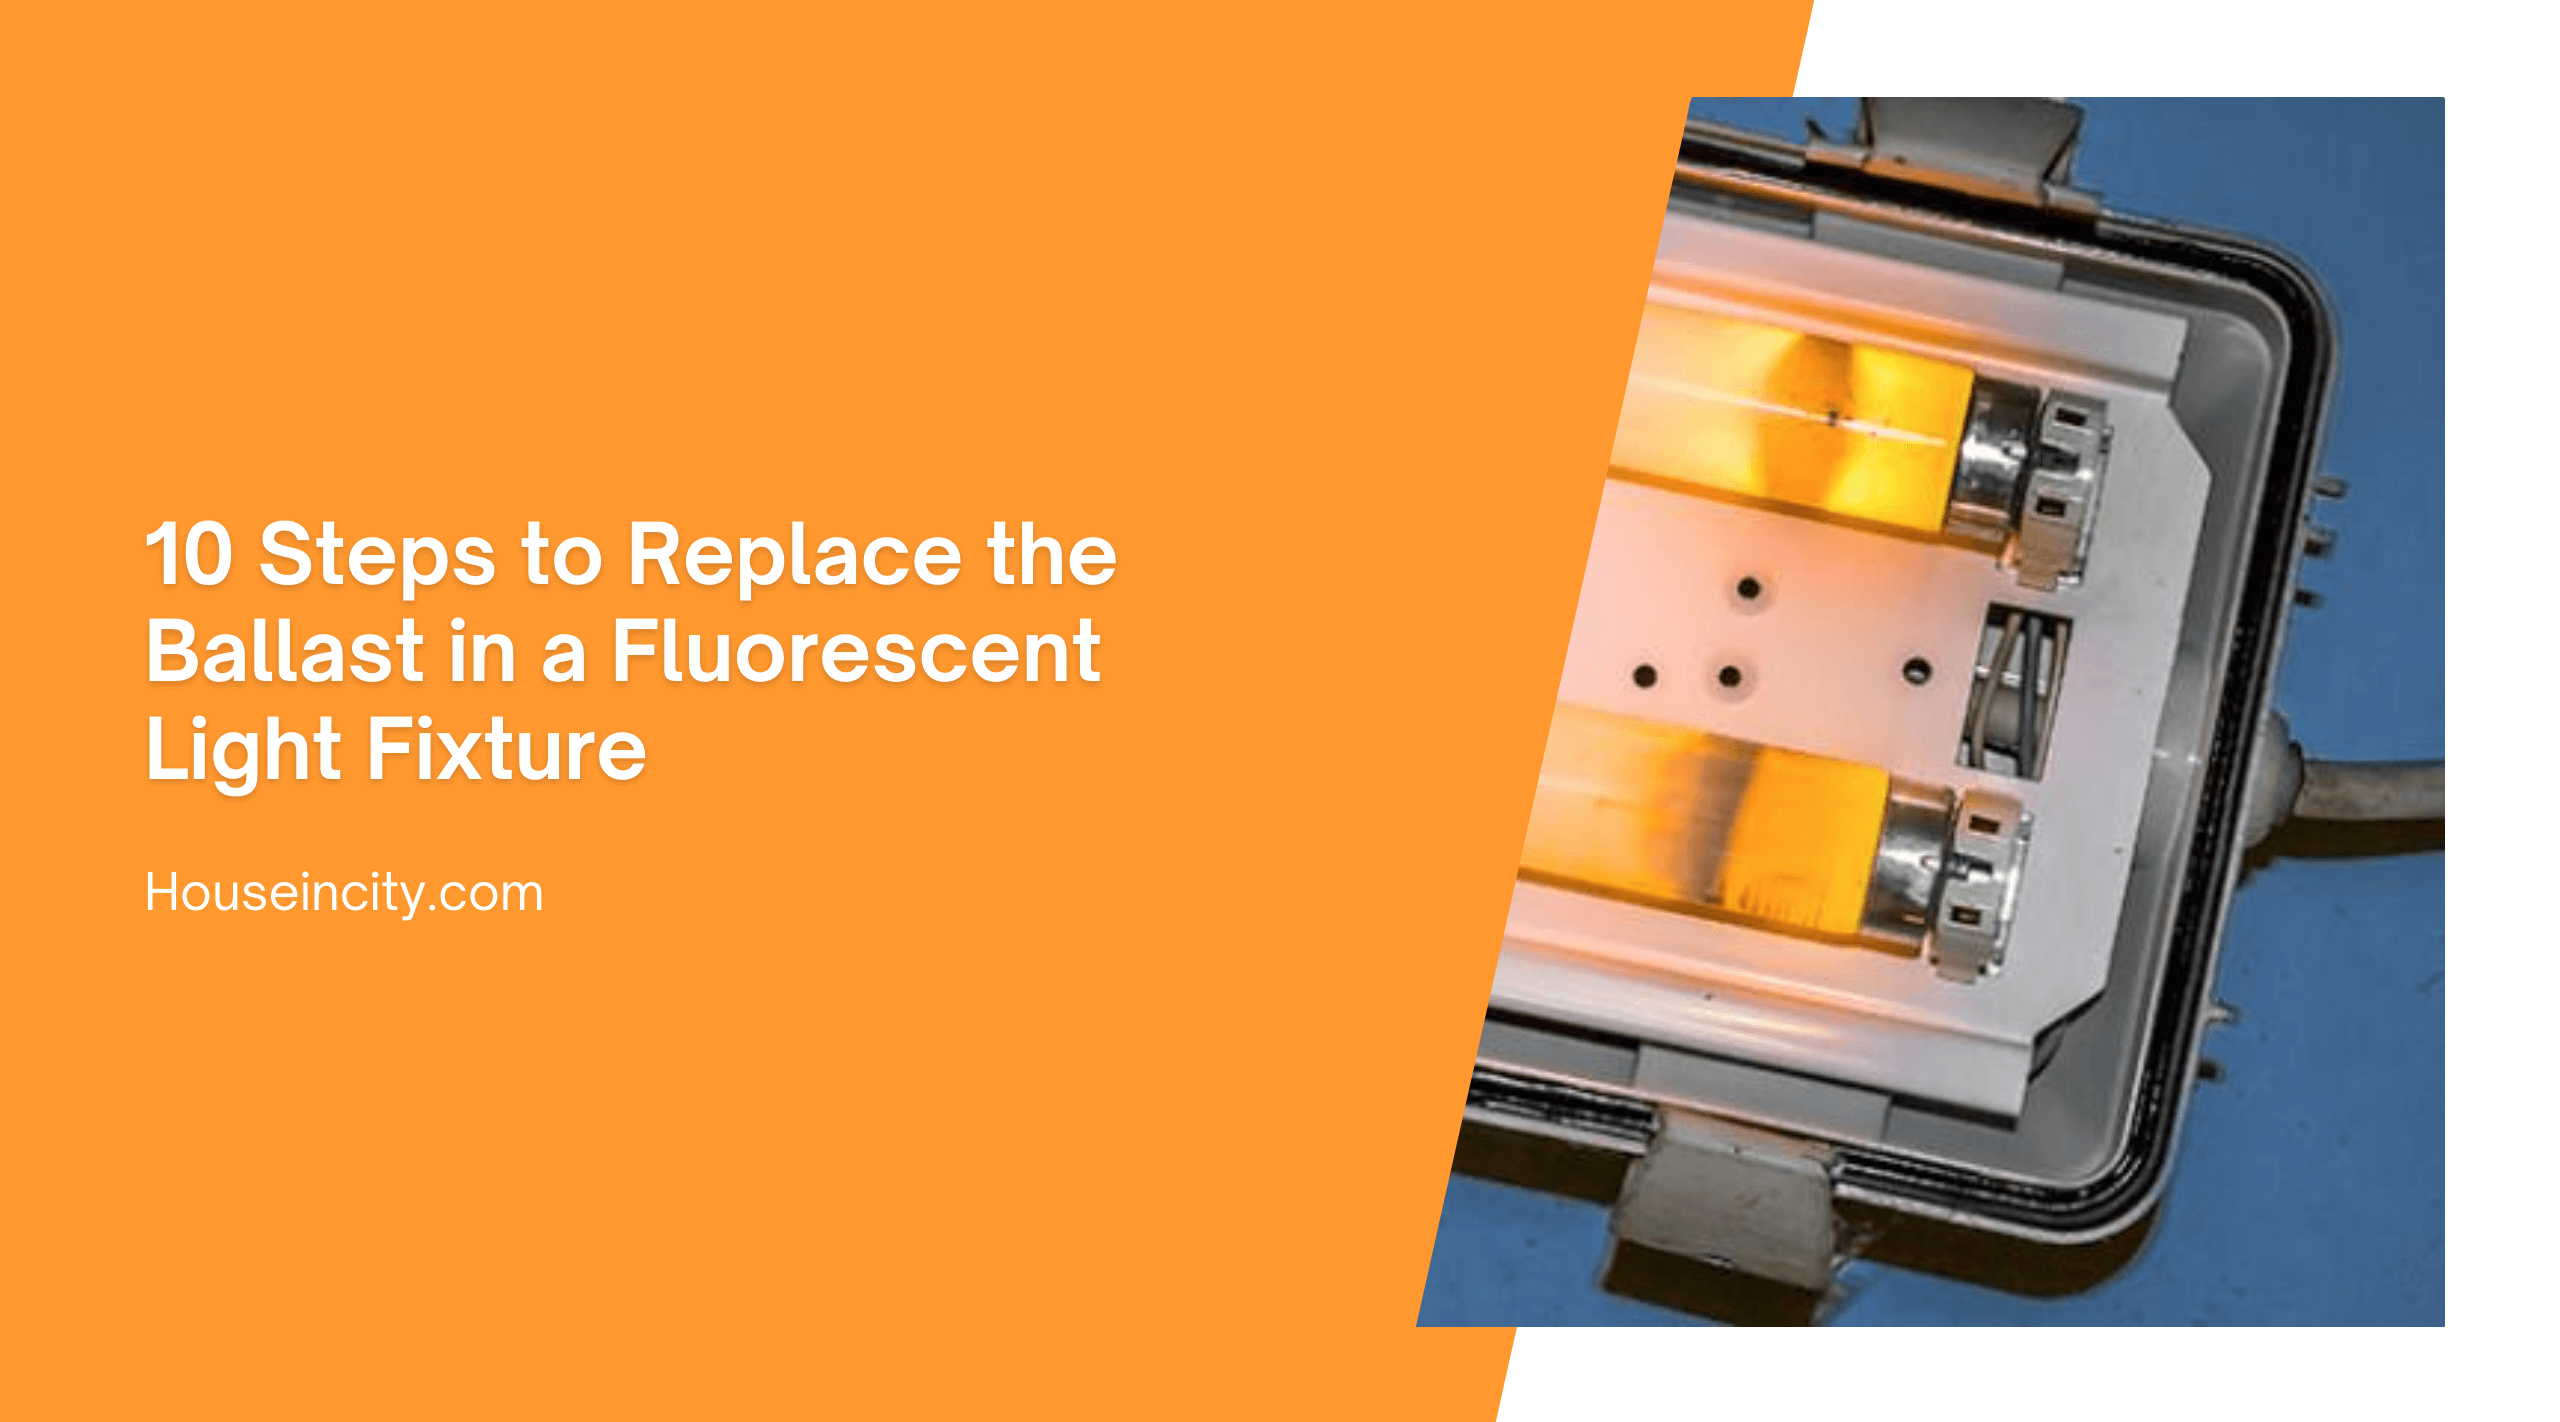
To access the ballast, start by removing the cover to light fixture.
Inside the fixture, you will find the two tube lights in most home fluorescent fixtures. Between the two bulbs, you will notice a panel that hides the wiring and ballast for the fixture. Remove the bulbs carefully and store them to be returned to their place after the ballast has been replaced. The cover over the ballast usually does not have screws, but if they are present, remove them. Generally, squeezing the panel inward will release it from the tabs down each side of its length and allow you to pull it free.
After the cover is removed, you should be able to see the ballast.
Most ballasts for fluorescent lighting fixtures are oblong in shape. It will be between six inches and a foot long. The ballast will have wires coming out of both ends and running to the ends of the light fixture. These wires will connect to the plugs for the ends of the fluorescent bulbs. There will be two other wires, one black and one white, that attach to your house wiring near one end of the ballast. Make sure that the electricity is off to the fixture. Remove the wire nuts from these two wires and disconnect the wires from your house wiring.
You will need to remove the plugs from the fixture before removing the ballast.
Firmly grip one of these plugs and pull it toward the middle of the fixture. It should slide from its slots and hang loose suspended from the wires. Do this for each of the other plugs until they are all loose. Do not pull on the wires when removing the plugs. Normally, the ballast slides under a tab on one end and has a single screw holding the other end in place. Remove the screw and lower the ballast from the fixture with the plugs dangling from the wires.
Lay out the ballast and plugs on a counter or table top that has some work space.
The new ballast will not come with the plugs attached. Carefully clip the wires going to each plug leaving about a foot of wire attached to the plug. Usually, two of the plugs are separate and two are attached together. Do not cut the wires that connect the two attached plugs to each other.
You will notice that there are three sets of two wires with each pair being the same color.
For example, one blue pair, one green pair, and one yellow pair will be there. Do not mix and match the colors. Keep each pair as its own circuit when connecting the new ballast.
Move the old ballast out of the way and lay the new one in its place.
Orient the ballast so that you can wire the two separate plugs to the end of the ballast with two pairs of colored wires. Strip the wires so that about one half inch of wire is exposed. Make all of the attachments except for the black and white wires that go to the house wiring. Use the wire nuts to cover all of the new connections.
Install the ballast back inside your fixture.
Once the one end of the ballast is slipped into the tab, insert and tighten the screw to hold it in place. Carefully slide each of the plugs into their slots until they snap into place. Once all four of the plugs have been installed, connect the white and black wires to the house wiring.
Fold the excess wiring into the middle of the fixture.
Once the wiring is folded into place, ease the panel back over the ballast and most of the wires. You will notice that notches have been made near the end of the panel to allow the wires to pass through to the plugs. After snapping the panel back into the tabs or replacing the screws, install the lights back into the fixture. Replace the outer cover and the project is complete except for disposing of the old ballast and putting your tools away. Flip the switch and the fixture should light up immediately.